.png)
How to Declutter Toys (Part 2): Systems, Storage, and Smart Strategies That Actually Work
- themodernsteward
- Dec 11, 2025
- 4 min read

If you’ve already made the decision to declutter the toys in your home — or you’re at least toying with the idea (pun intended) — this post is your next step.
In Part 1, we talked about the emotional and logistical reasons decluttering toys can feel so difficult — and why even well-meaning systems don’t always stick.
Now let’s talk about what does work. These are the same strategies we use in real client homes to help families create systems that actually last.
Step 1: Sort first — then purge
Before you can purge, you have to know what you’re working with. So start by doing a quick sweep to gather all toys from around the house into one central space.
Once you’ve got eyes on everything, sort by category:
• Building & construction
• Pretend play
• Games & puzzles
• Art supplies
• Vehicles
• Dolls/action figures
• Reading & books
• Learning/sensory
You don’t need perfect bins or fancy labels at this point — just a rough grouping.
Once sorted, it becomes so much easier to see what’s duplicated, what’s broken, what’s outgrown, and what’s still loved.
Use the 4D Method™ to Edit with Intention (This should be in the format with the line/quote)
This is the framework we use for nearly every organizing project — and toys are no exception.
1. Decide- Start with vision. What kind of play do you want to encourage? How do you want your shared spaces to feel?
2. Delegate- You don’t have to do it all. Get help with pickup routines, teach older kids to sort, and assign a “toy sweep” to a family member.
3. Discard & Donate- We always say: discard first. It clears space quickly. Then donate what’s in good condition.
4. Design- This is where storage comes in — and it should fit your family’s lifestyle. Avoid jumping to pretty bins before you’ve done the deeper editing.
Step 2: Purge together when possible

If your child is old enough, we recommend involving them in the process — especially when it comes to the “keep or let go” decision.
Here’s how to guide the conversation:
“Which of these toys do you still play with?”
“Would you like to share this with another child who needs it?”
“This one is broken — should we fix it or say goodbye?”
For young children, keep the choices limited and upbeat. For older kids, give more autonomy while reinforcing boundaries around space and use.
If they’re not ready to let go, that’s okay — try our favorite secret weapon: the “maybe” box. Store questionable items out of sight for 30 days. If they’re not missed? They’re ready to go.
Step 3: Donate intentionally
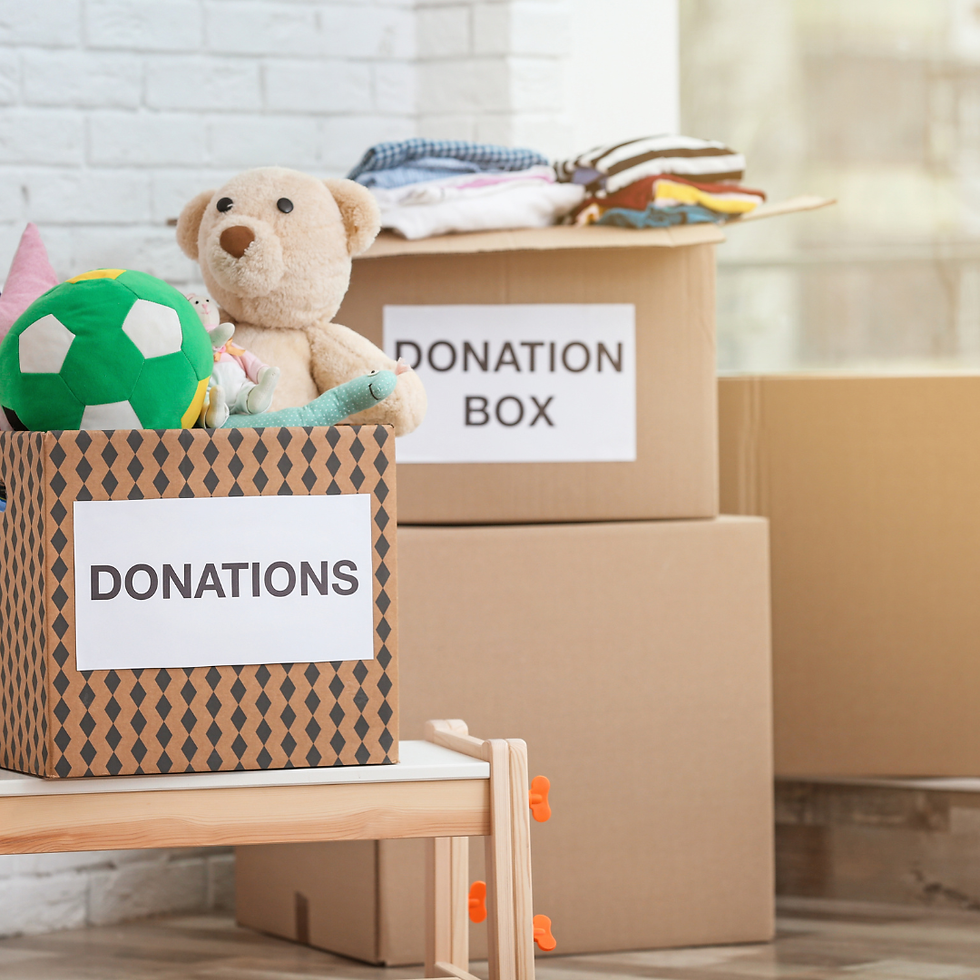
As we shared in Part 1, toy donation can be tricky — but incredibly rewarding when done right.
We recommend donating gently used items to trusted organizations like:
Angel’s Place (for Pittsburgh locals)
Your local daycare, preschool, or holiday toy drive
Note: We don’t typically recommend donating plush toys due to sanitation concerns. Instead, focus on cleanable, gently used items that will have a second life in a new home.
👉🏾 For more tips: How to Discard & Donate Sustainably
Step 4: Rotate, don’t just reduce
One of the most impactful systems we implement in client homes is toy rotation.
Here’s how it works:
Keep only a few categories of toys easily accessible
Store the rest in a labeled bin or out-of-reach closet
Every few weeks, swap what’s out with what’s in storage
This not only reduces visual clutter — it also increases engagement. Toys feel new again, and kids tend to play more creatively with fewer options at once.
Rotation also gives you space to reset without pressure to “get rid of everything.”
Step 5: Use storage that works for real life

It’s tempting to buy the “Pinterest-worthy” bin set or that 12-cubby organizer everyone raves about. But real life requires real function — not just aesthetics.
Here are a few of our go-to tips:
Use open bins without lids for everyday toys (especially for toddlers)
Limit deep baskets that become black holes for small pieces
Label with words and pictures for younger kids
Avoid over-stacking — if a child can’t reach it safely, it’s not practical
Keep like with like — categories matter more than matching bins
Need product ideas that are both practical and pretty?
Or explore our curated Amazon storefront for what we actually use in client homes.
Step 6: Set the tone for what’s “enough”
One of the most powerful lessons we can teach our children is how to value what they have — and how to decide what they truly enjoy.
That starts with you.
If you constantly feel overwhelmed by the amount of toys in your home, consider this your permission to set boundaries. Not from a place of restriction, but from intention.
You don’t need a minimalist playroom.
But you do need a system that supports your routines, your values, and your child’s development — without the chaos.
Make It Seasonal (and Sustainable)
December and January are the perfect time to reset — especially before (or after) a holiday influx.
We also love revisiting toy zones again in the spring (before birthdays and summer) and in the fall (before school and routines shift again).
Feeling inspired but short on time?
🧸 If you’re in the Pittsburgh area, our Space Edit might be the perfect fit — a 12-hour in-home organizing service designed to help families reset a single space.
We’re currently offering a limited number of sessions at a promotional introductory rate — so if this feels like the right fit, now’s the time to book.
Learn more or book The Space Edit .

Comments